




















Screen printing is a process of using binder and an exposed screen to print artwork onto a multitude of hard or soft smooth surfaces. The surface has to be flat in order for the screen to also lay flat on top and so that the binder coats the material evenly for a sharp print.
It’s used widely within the textile industry – printing home furnishings, to cloth for garments and quilt fabrics, to personal projects as well. It’s an accessible method of printing with simple foundation skills.
Across AUB, I know different departments expose screens and run through the process differently – based on their art practise and mediums. As a BA (Hons) Textiles Design student, I’m going to take you through how I learnt it in our department. Screen printing has become one of my favourite skills throughout my time at university and I can’t wait to push it even further in third year.
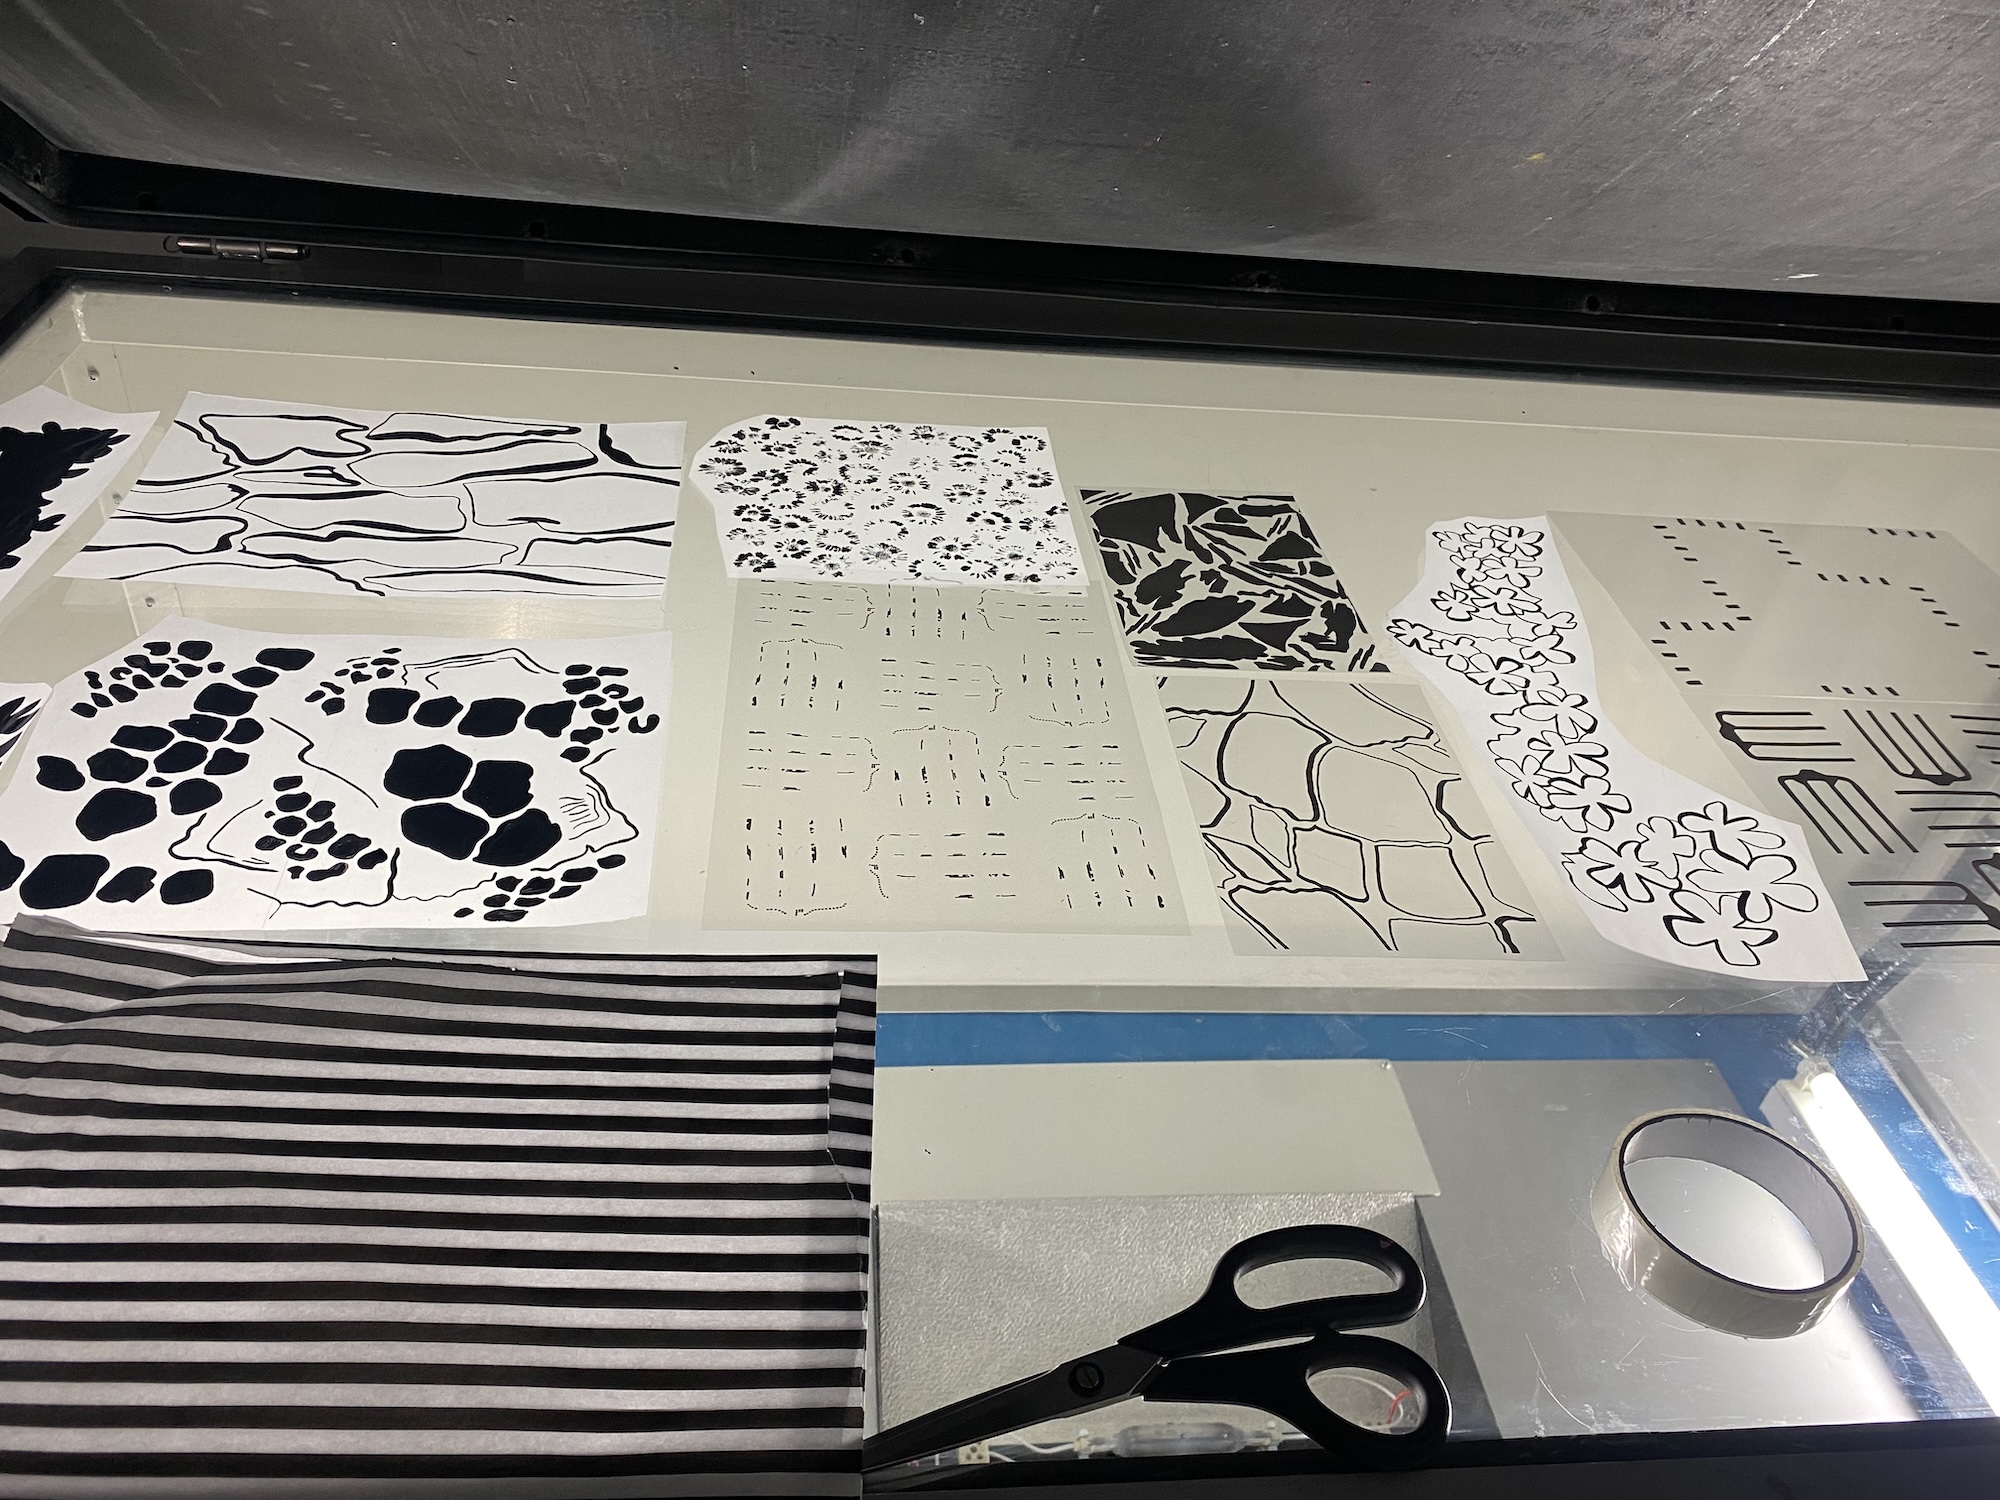
I am going to start with explaining how you expose your screen. Once you have decided on the art you want to expose, you either need to trace it onto tracing paper/kodatrace or get it printed onto acetate at VectorPrint. Whichever method you choose, you have to make sure your artwork is 100% opaque. When drawing art by hand, it’s best to use black Indian ink for an opaque finish.
With screen printing, you want your artwork to be separated when you expose it by colours. You cannot pull multiple colours through the screen – if you want to do this, you should try Procion printing. Instead, you have to print colours individually and layer them up colour by colour on the material. Also, when you expose your artwork, anything black is what will be exposed. The areas or line work that are not filled in will not expose. When I began screen printing in first year for the first time, I had to make sure I was getting my designs the right way. Don’t worry – it makes a lot more sense after your first go.
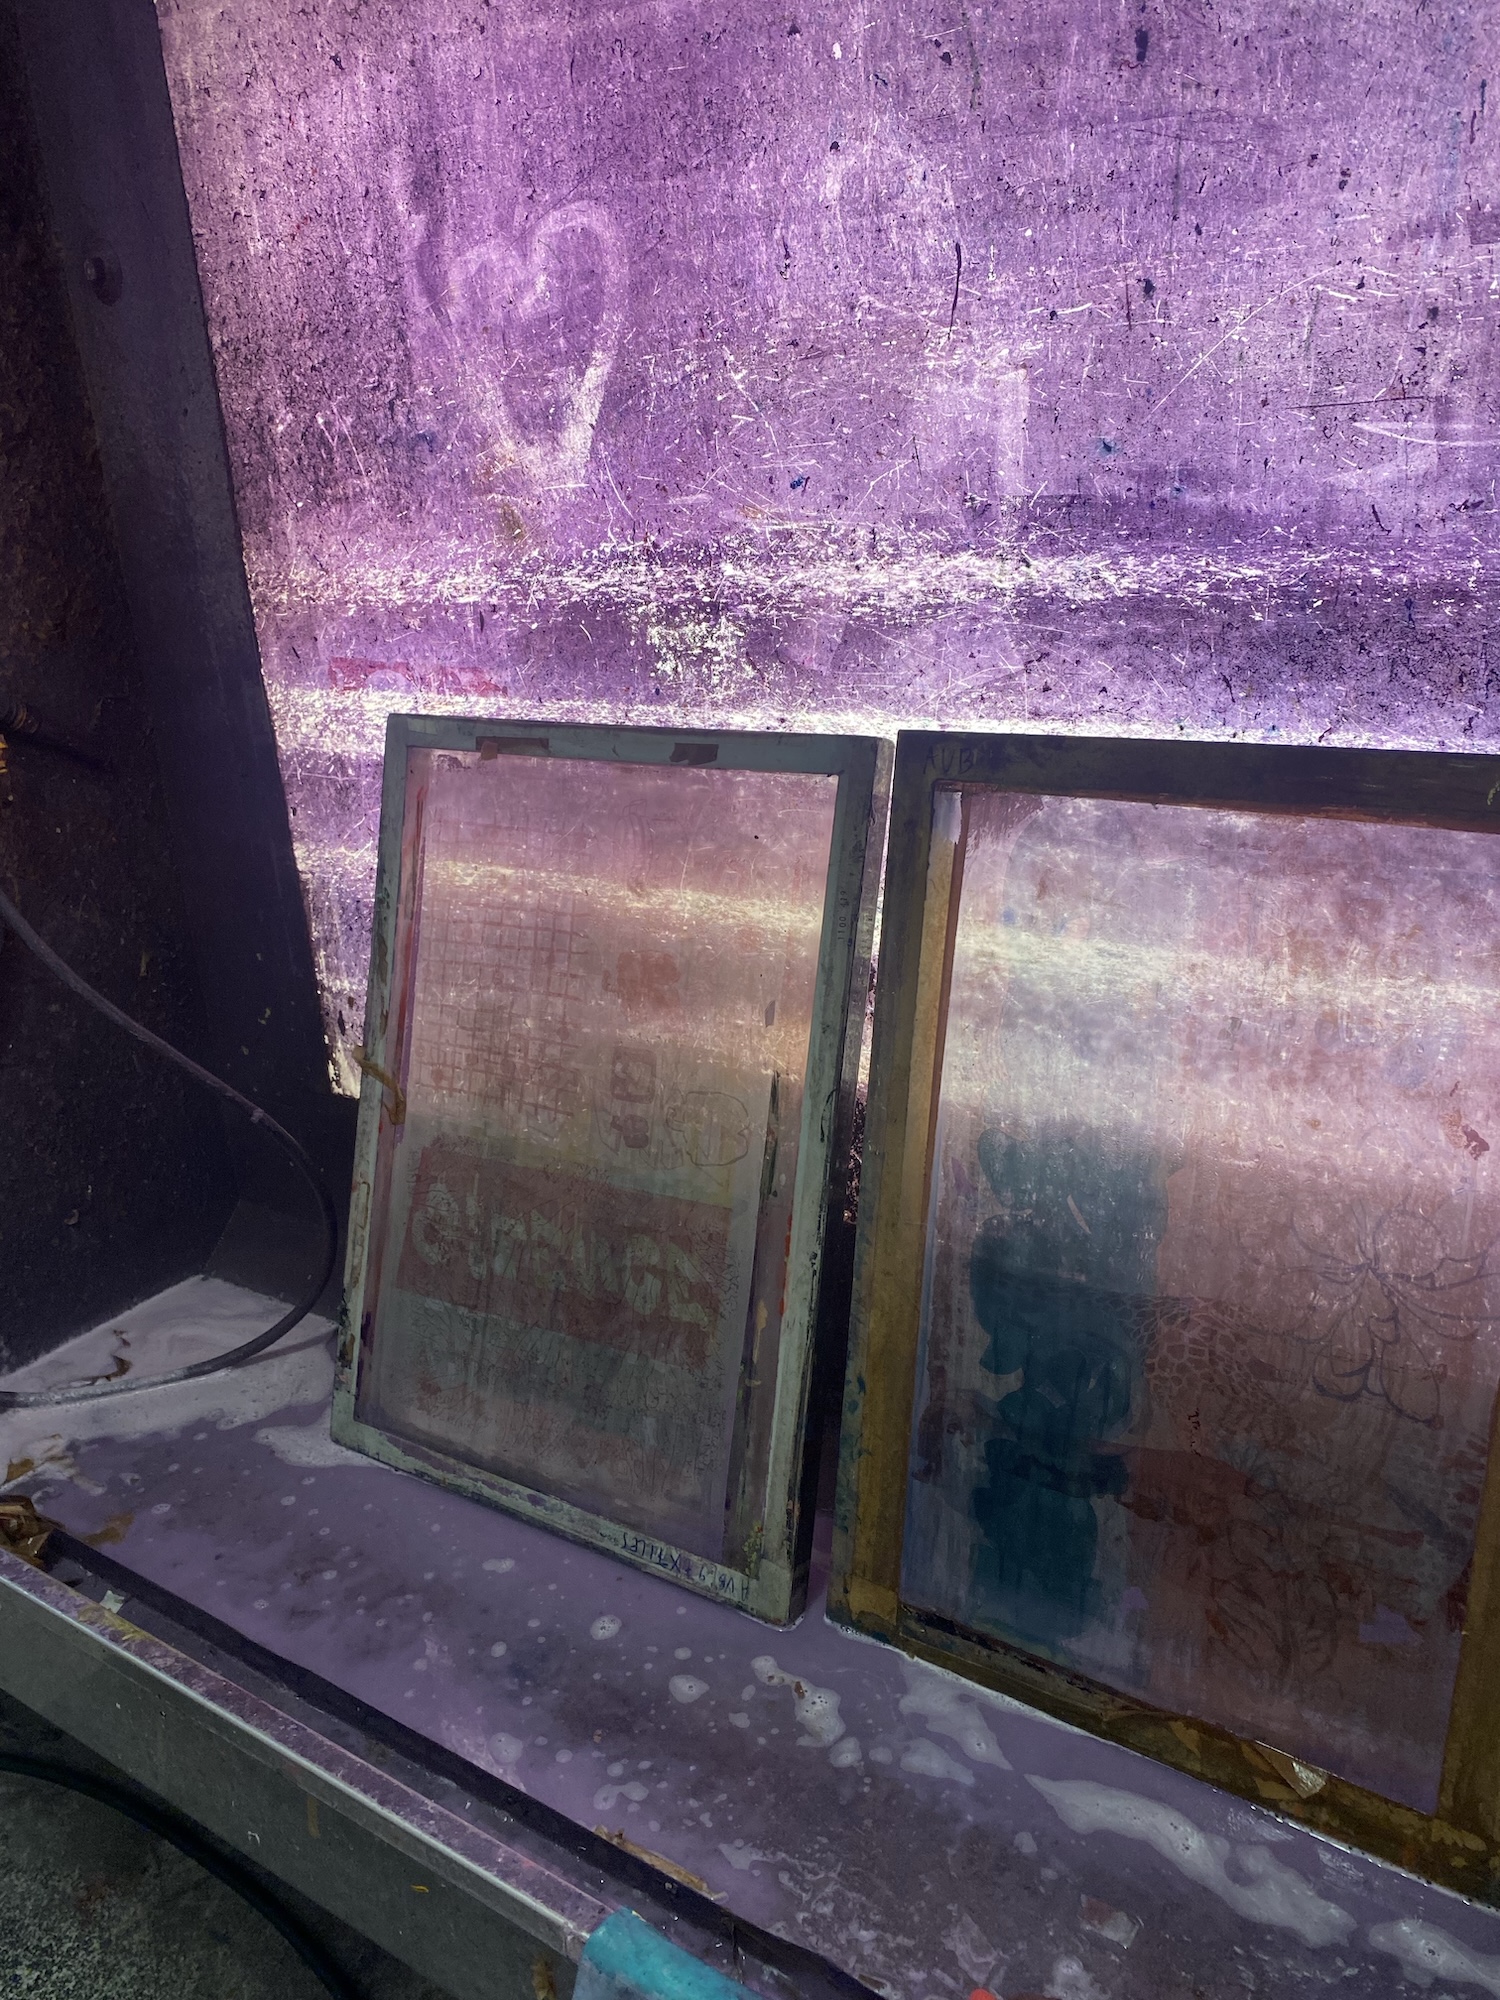
In textiles, we leave our screens in the exposure room the day before we want them to be coated. The screen must be clean – free from any previous emulsion or grease. You do this by using screen cleaner, a scrubbing brush and jet wash to blast off any old designs. Then you rinse it off with Mr Muscle to remove any grease. You must wear PPE to do this too.
On the day, one of the technicians will coat the screen with a purple emulsion and leave it to dry. This takes a couple of hours. Usually after lunch, the screen is dry enough to expose.
To expose your design, you lay your artwork onto the exposure unit, ensuring everything is facing the same way up, so any designs to be overlayed match up. You can use clear sellotape to secure your work to the unit and stop them moving around. Then you place your screen face down over the top and clip the lid of the unit down. It’s important to let as little light hit the screen before exposing, as light causes the emulsion to dry, so it won’t then create sharp lines.
You turn the unit on; adjust the time the machine runs for based on the material of your artwork (tracing paper and acetate require different lengths of time) then start the machine. It will create a vacuum around the screen and use light to cure the emulsion, except for your design.
Once the machine has run its time, you take the screen out and wash it immediately. This then washes off any excess and reveals your design. It’s a fascinating thing to watch. The last step is to add gum strip (a brown sticky tape) round the edge of the screen to cover any gaps and let it dry in the dryer.
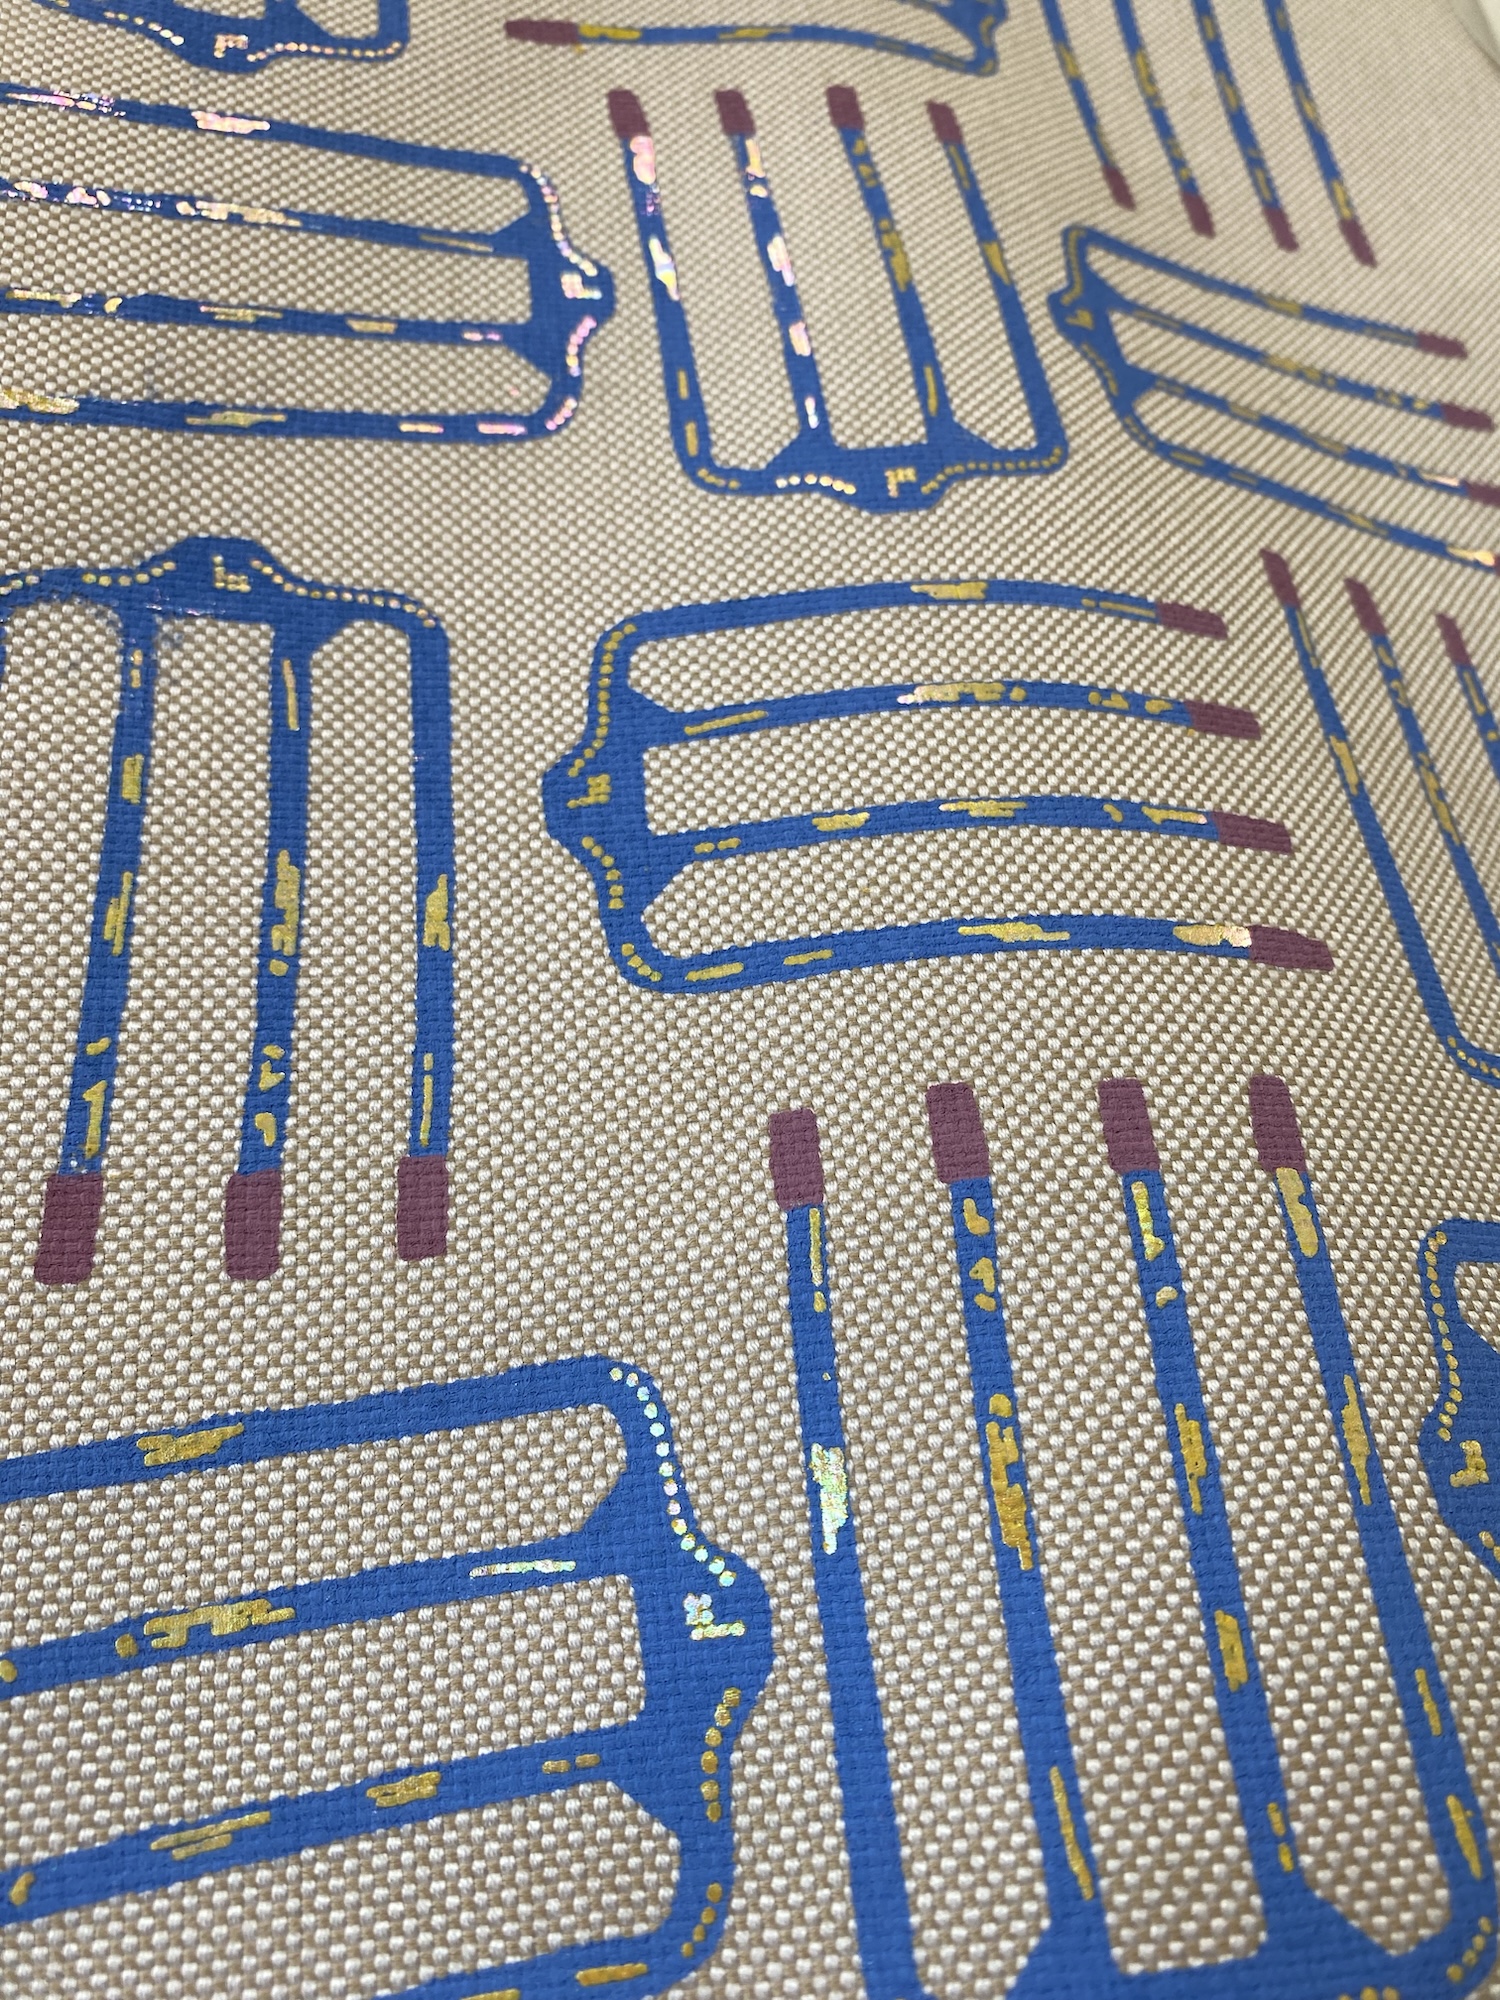
After your screen has dried it’s ready to print with! To screen print, you want to pin your material onto the print tables nice and tight. Lay your screen face down and spoon your coloured binder out along the top. Using a squeegee, you pull the binder down the screen in one smooth flow to cover the design and push it through the mesh. Repeat this pull a couple of times, ensuring the screen doesn’t move. It can be useful to have another person hold your screen still for you; this way it won’t move and become blurry.
Binders are what you mix with pigment to create your colours – there are opaque, standard and translucent. You can also purchase special binders, like metallic or pearlescent finishes or flocking/foil glue binders to add foil to your work. You have to be inducted in second year for these techniques before you can buy it, as you have to use extraction systems for safety.
After each colour, you must wash the screen thoroughly in the sink and let the screen, plus your work, dry. You can then lay the next screen on top and print a second colour and so on.
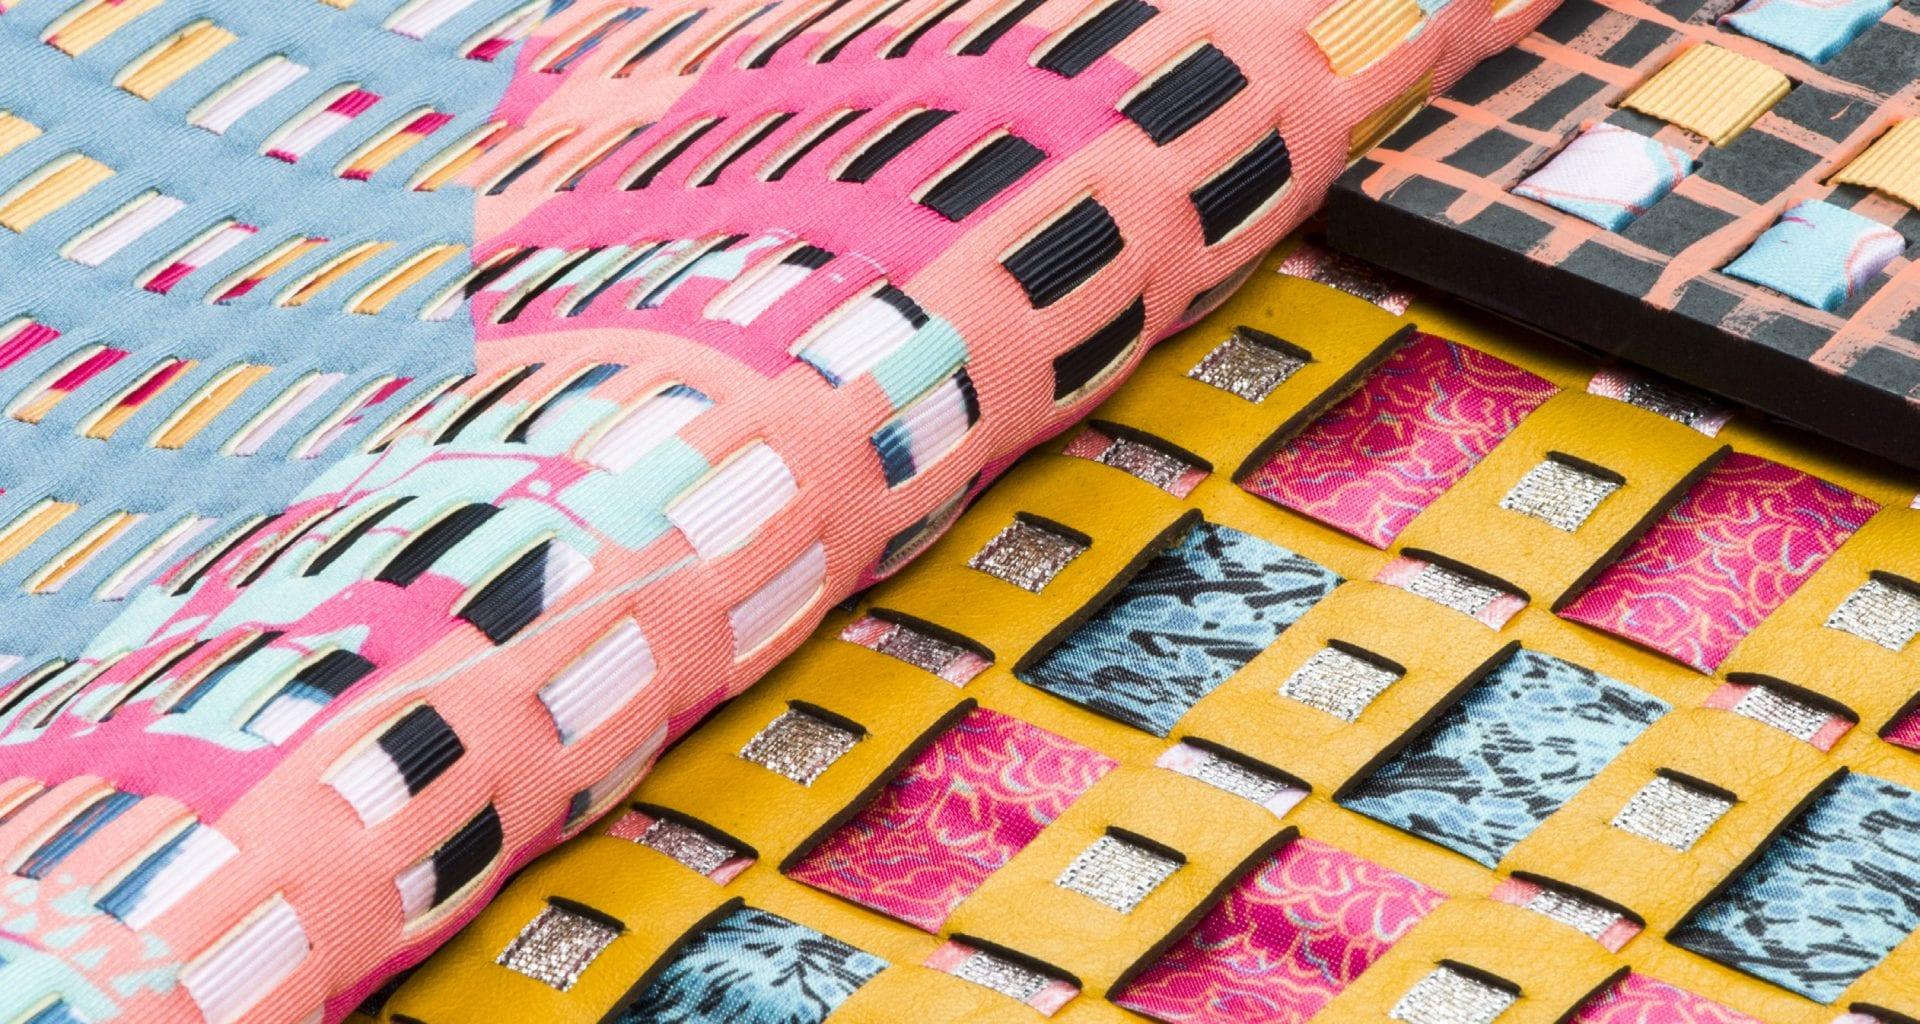
Although screen printing can be a slow and labour-intensive process, the results can be fantastic! They still use it in industry across the world, so it’s a very relevant skill to learn. Mixing the binders to your colour palette is also helpful for learning colour proportions and combinations and getting familiar with mixing, which I really enjoy.
The last step to screen printing, after all your screens are done and the material is fully dry, is to iron the fabric. This secures the binder to the fibres. Make sure you iron the reverse of the fabric or cover the design with a Teflon sheet, so your work is protected in case the iron plate is dirty.
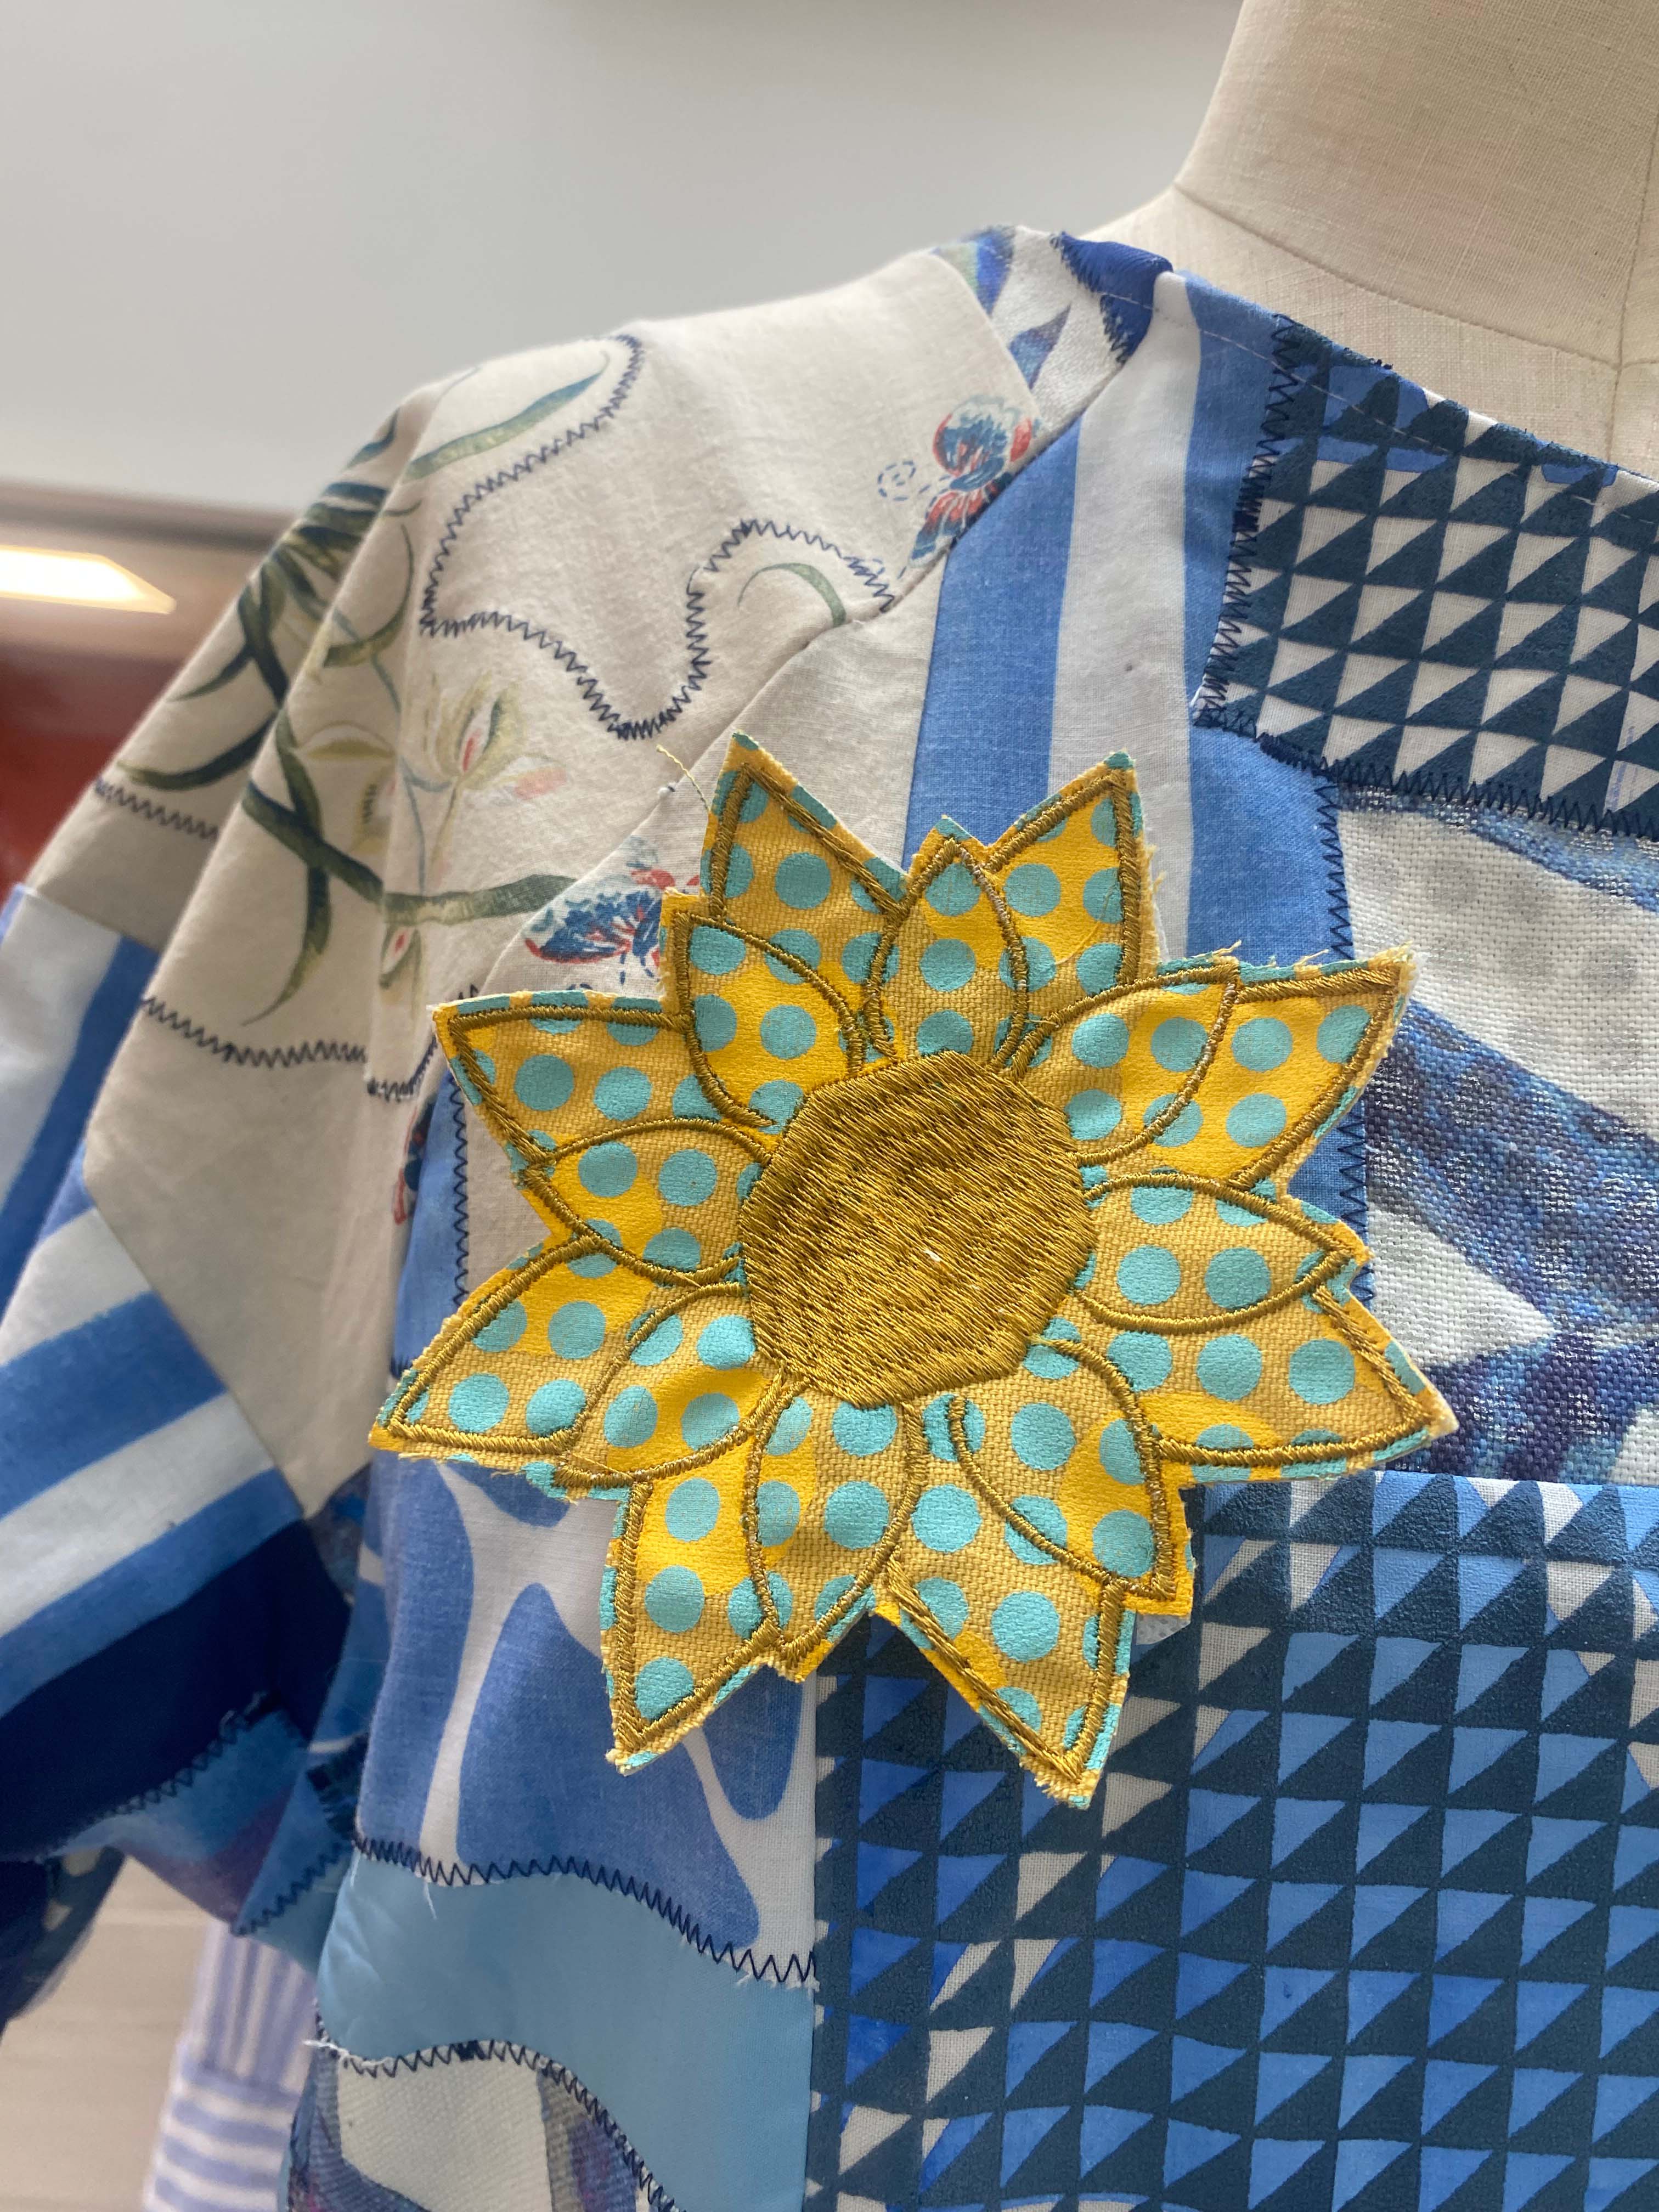
As I have progressed in my course, I enjoy screen printing and then working back into the fabric with embellishment or digital embroidery. Although it’s not a technique for everyone, I would recommend trying it as you might just fall in love! The process is rhythmic and satisfying and the print room is a fun place to be – everyone chatting, helping each other and the radio playing!
I will definitely be incorporating screenprints into my third year projects and I’m excited to be using it on larger scales. There are great possibilities of what you can achieve and I’m excited to lean into this and push myself.